Appointment Scheduling
Email Support to activate this feature at Support@enrollware.com
To meet the needs of our users, Enrollware now has the ability to schedule Appointment style classes.
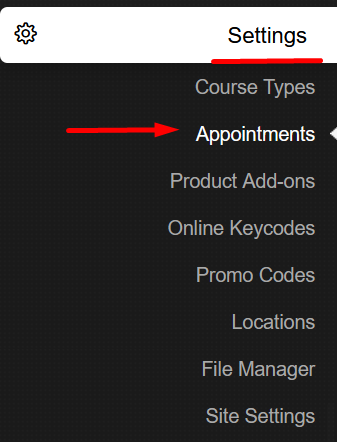
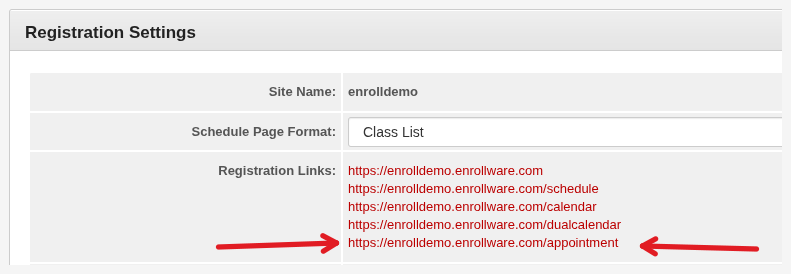
Once activated, the Appointment options will appear under your Settings tab and Classes and Students tab. Your account will also have a registration link for Appointment classes.
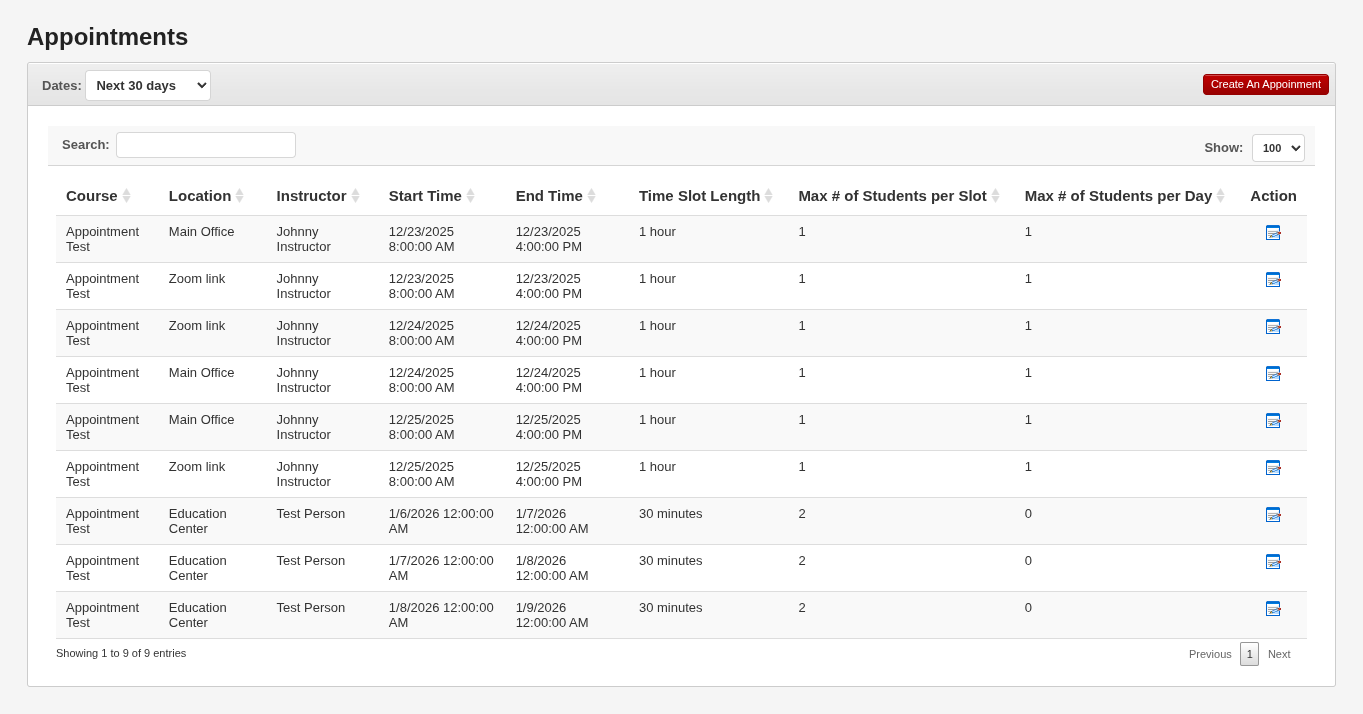
In the Appointments section, you will be able to start scheduling your appointment classes by selecting the Create An Appointment button on the upper right-hand corner IF the courses have been activated to be able to schedule appointments. This is done for each Course Type.
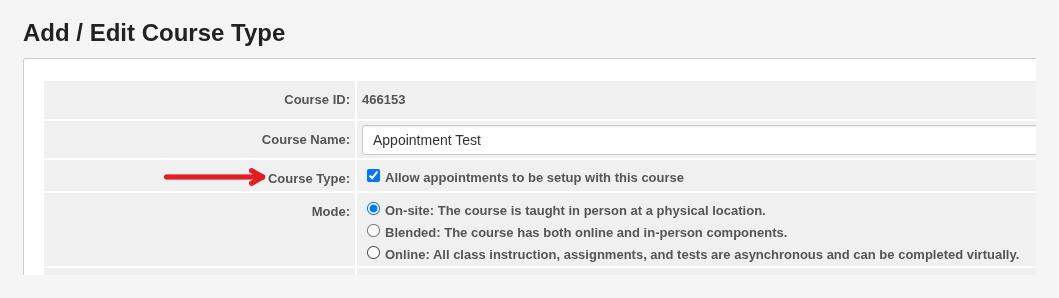
1. Activate or create a new course and select the "Allow appointments to be setup with this course".
2. Navigate to your Settings>Appointments> Create Appointments.

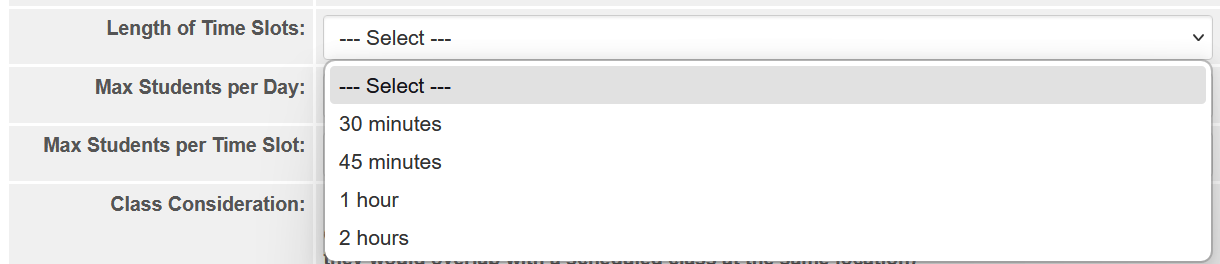
In the Add/Edit Appointment screen, you will be able to set up based on the Course Type you enabled and all the desired settings.
The Time Slots will allow you to schedule according to the chosen time intervals.
The Class Consideration option will look at your existing regular classes and will not offer appointments at those times, so overlapping is not an issue.
The Availability Window can be set to 24 hours or the time frame that is chosen.
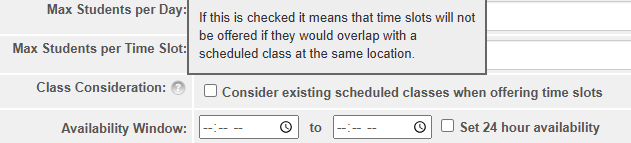
You are able to set a cutoff period to prevent students scheduling within X days and X hours in of the current day.

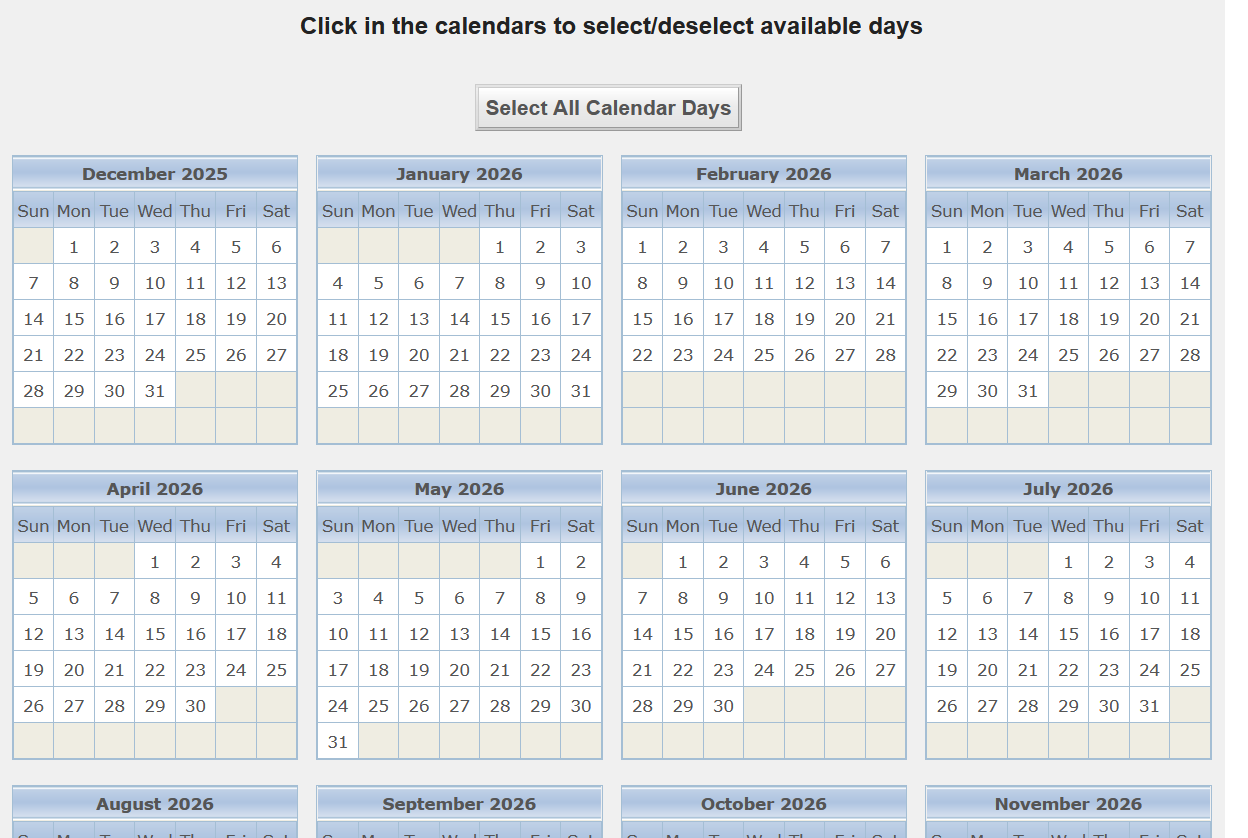
Once the options are set up, the final step is to select the dates for the Appointments. The option to select all dates is also available. Once satisfied, select "Create Appointment".
Appointments set up are now shown in your Settings > Appointments section.
You can filter by any upcoming dates.
Student Appointment Sign Up Process
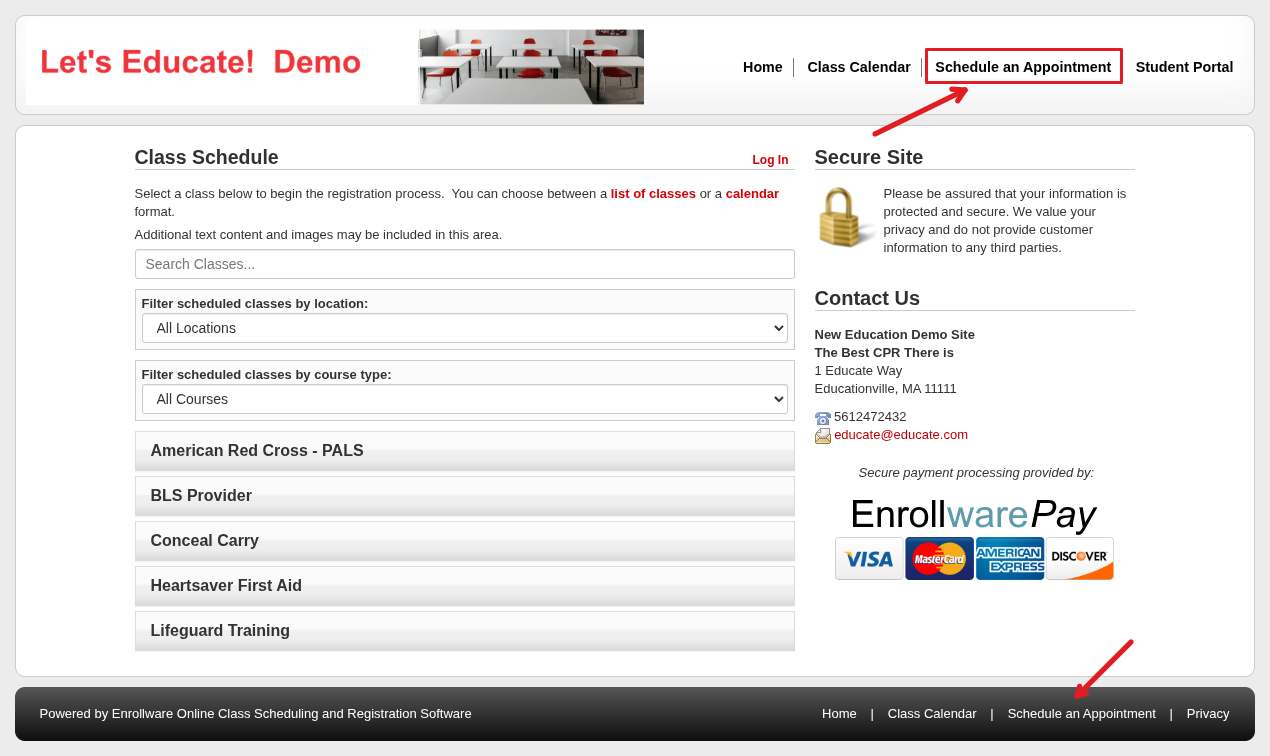
The students can locate the Appointment section by navigating to the Schedule an Appointment option within your registration page at the top or at the bottom.
If you have a custom skin this option will not appear, let support know if you would like to modify your skin or add the link to you Schedule page text or the Custom sidebar in Site settings.
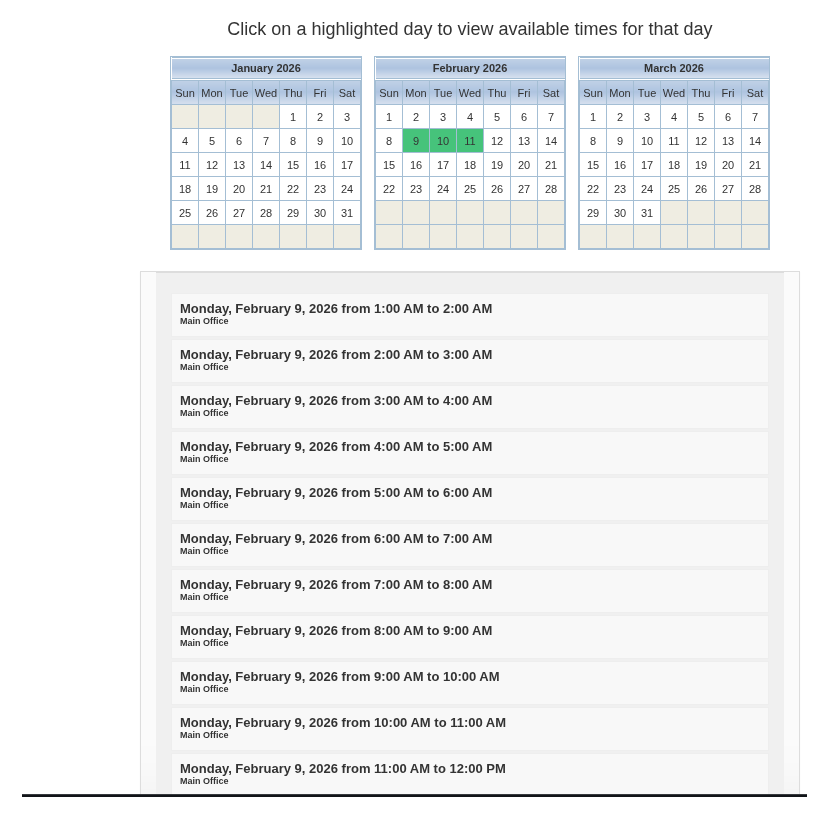
Once on the Appointment screen, users will be able to select the course that offers Appointment availability and filter locations to view any available dates on the calendar. The green highlighted dates indicate availability.

When a date is selected, the available times are then shown, and the registration process is the same as for a normal registration.
View Upcoming Appointments
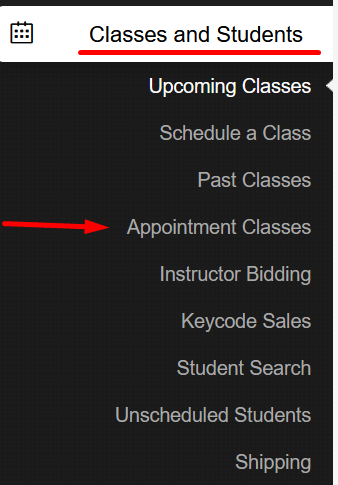
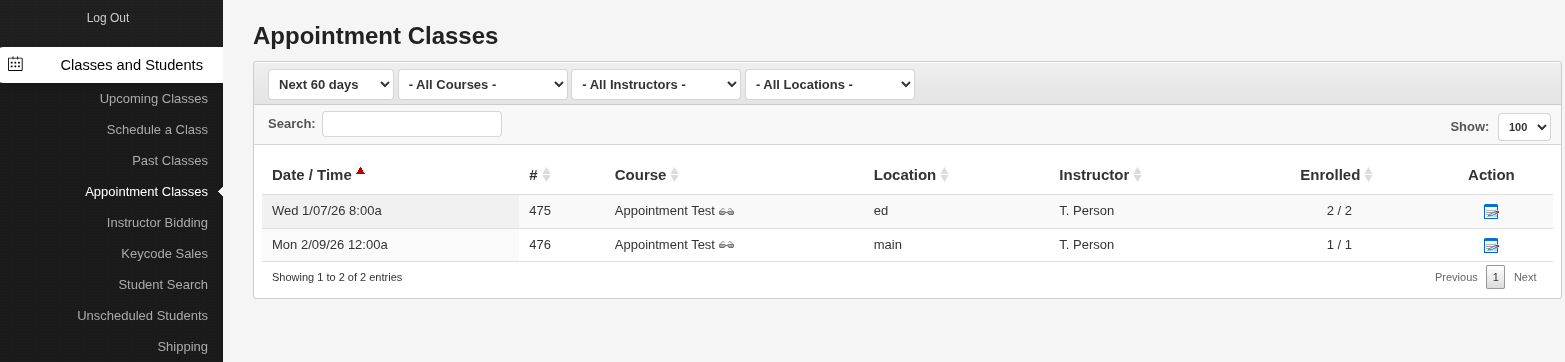
To see your all of your Appointments after students register, navigate to your Classes and Students Tab > Appointment Classes, where your classes will appear after a student has scheduled an Appointment class.
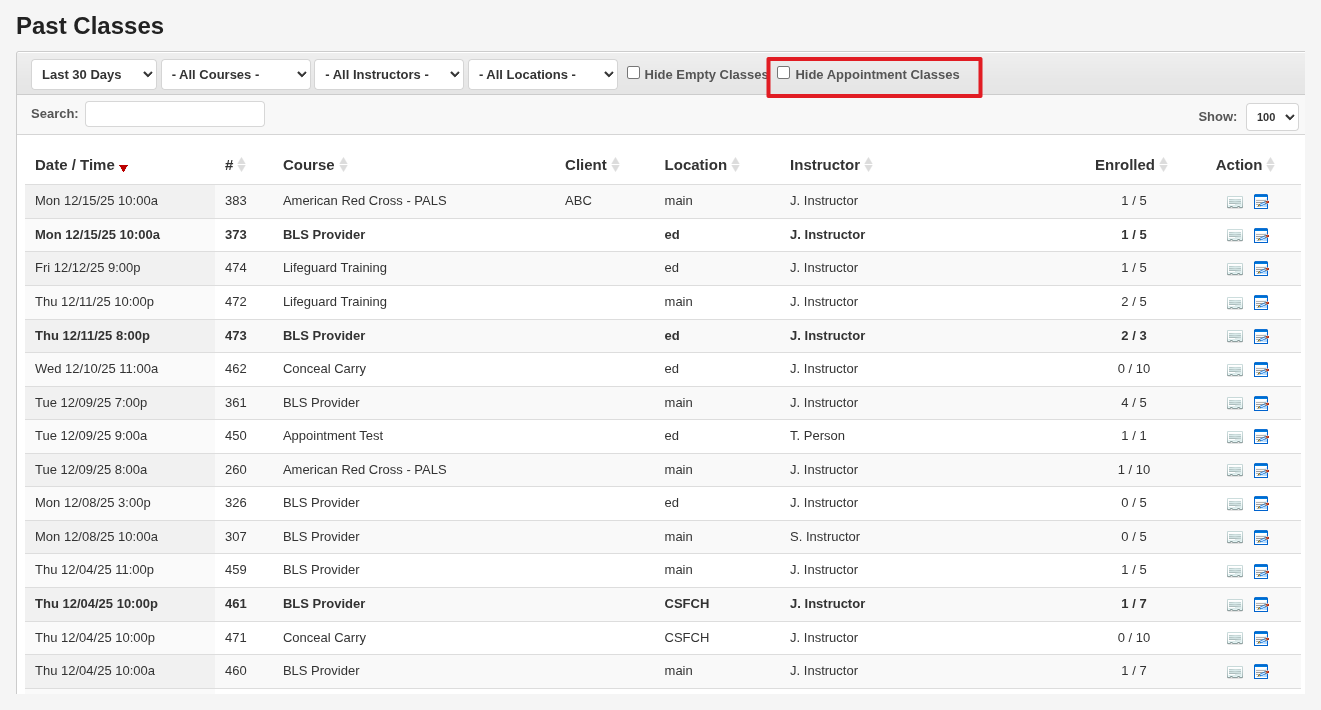
Your Appointment classes will also appear in your Upcoming and Past Classes sections. You can filter to hide the Appointment classes by selecting the Hide Appointment Classes option.
VIDEO